Road to Hana is an iconic Maui adventure. If you are planning a trip to Maui, I would highly recommend putting this on your to-do list. It is an incredible 64.4 mile route along the Hana Highway filled with waterfalls, panoramic views, and bamboo forests. On our trip we in no way saw everything there is to see, but below is a quick review of must-sees and the do’s and don’ts when traveling the Road to Hana.
Disclosure: This post may contain affiliate links, meaning I get a commission if you decide to make a purchase through my links, at no cost to you.
Planning
First things first, when planning your trek, plan to spend the entire day on the Road to Hana. It starts in the middle of the north side of the island and ends on the southeast side of the island wrapping around to Haleakala National Park. From Lahaina it is about one hour to the Mile Marker Zero, thirty minutes from Kihei, and about 45 minutes from Wailea. The road is narrow but paved so when taking the main route, any car will do. Because of the popularity of the Road to Hana, some of the sights can become pretty busy and crowded. We left our hotel in Wailea at 7am. We grabbed some breakfast to go and found ourselves at our first stop close to 8am, where the parking lot was already starting to fill up.
Things to bring:
You are heading into a very tropical region of the island. It is green and lush with waterfalls because it rains quite often. Check the weather, but even if it says no rain, you should still plan as though there is a chance. Additionally, you should plan to get dirty! Many of the trails are muddy and covered with puddles. Some of the trails may require you to walk through streams with no way to avoid them. Here are items we took with us, which made our adventure much more successful.
- Sunscreen- if you plan at all to swim in any of the waterfalls or waterholes, please be environmentally responsible and wear reef-friendly sunscreen. It is the law in Hawaii. My family loves this brand that can be purchased on Amazon. It comes in a spray or lotion and they have a variety of SPFs to choose from for both adults and kids.
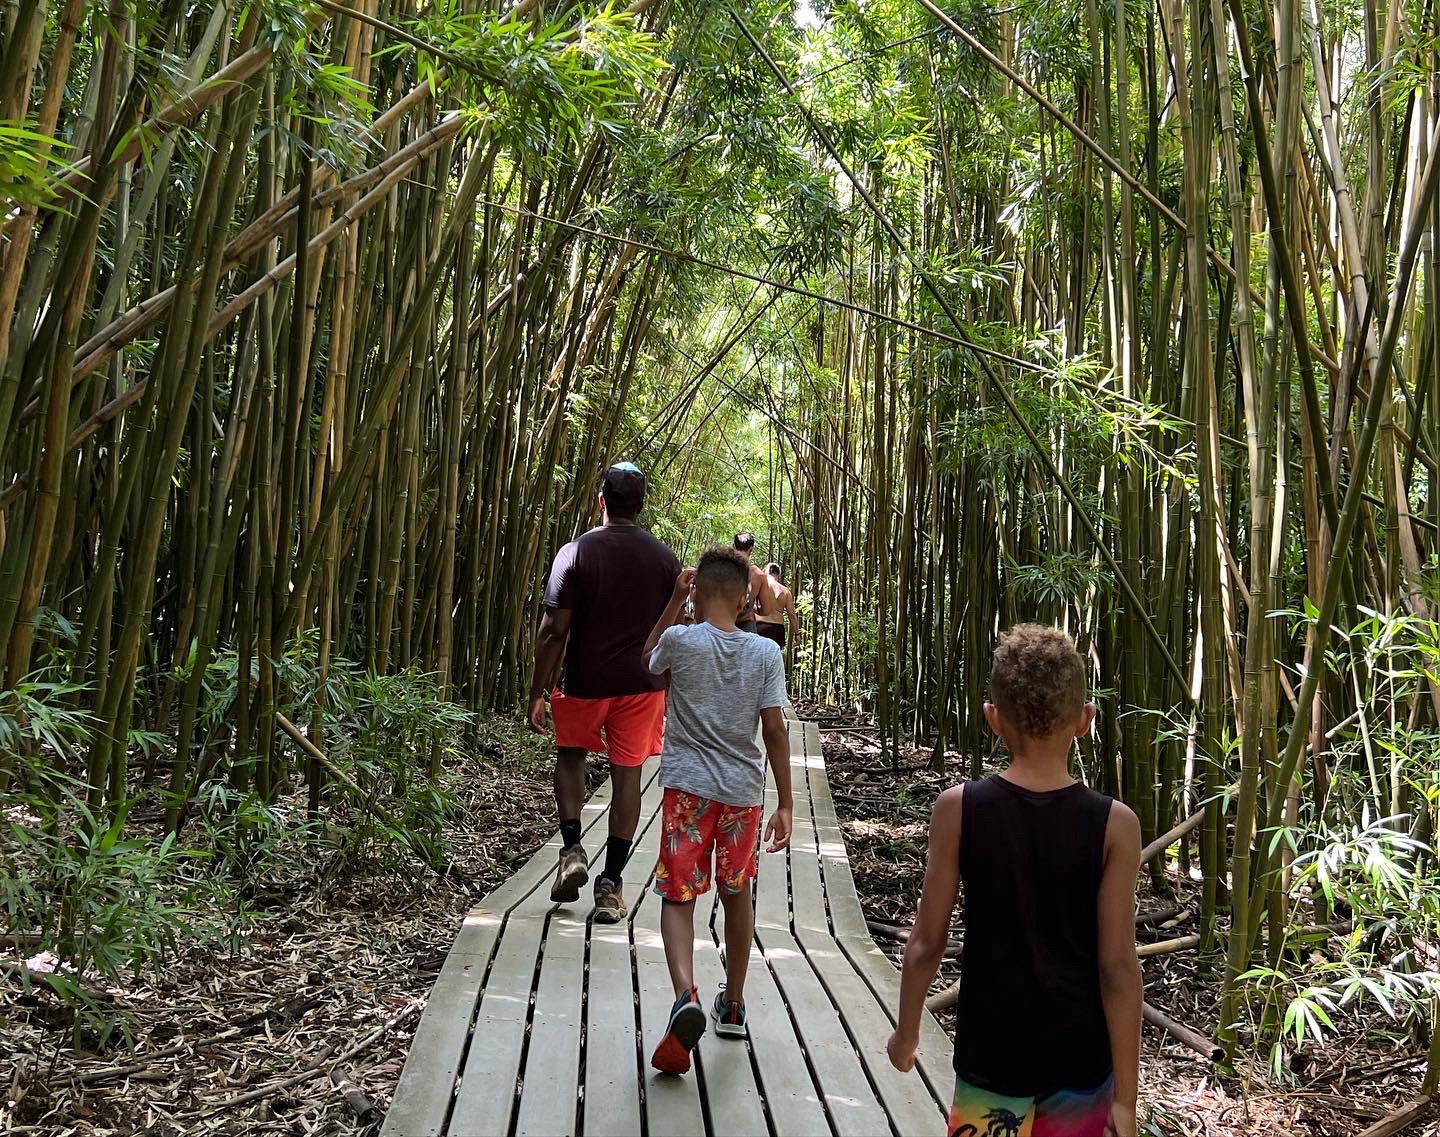
- Bug spray- although we did not use ours much, on our last hike on the Pipiwai Trail through the bamboo forest it was very much needed. Sticking with environmentally friendly products, we really like this brand that can also be purchased on Amazon and seems to work pretty well.
- WATER- I cannot emphasize this enough. Although many of the trails are shaded, it can still get pretty hot and it will most likely be a long day. There are very few amenities along this route so be sure to pack lots of water! I would recommend taking double what I think we might need. When hiking, my family likes to take a camelback. This camelback is great with lots of pockets for snacks, keys, chapstick, and a spot to carry your wet shoes.
- Snacks- along with water, pack lots of snacks. Again, it is going to be a long day with little to no vendors for buying food. I packed some snacks, but wish I had packed more. Granola bars, apples, oranges, nuts, and jerky make great snacks for the trail, along with peanut butter sandwiches for something with more substance. Please remember to be respectful to your surroundings and leave no trace, packing out anything you bring in, including your fruit cores. I like to bring a quart or gallon size ziploc bag with me to store our trash. Help keep Hawaii beautiful!
- Change of clothes- although I did not need a change of clothes, I did bring an extra pair for the kids and I am glad I did. We were wet and soggy from all of the waterfall chasing so they were pretty happy to have some dry swag to change into.
- Towels- this is something to consider taking, especially if you want to protect your carseats from getting wet. You are hiking in and out of most of the waterfalls so it gives you time to dry, but I did bring one towel for each of my kids, which they did like to dry with and wipe their dirty feet with before putting their shoes back on. Turkish towels are great for this type of thing because they are lightweight, easily packed, and quickly dry. These from Sand Cloud are great! I have also enjoyed these from Amazon as well.
- Shoes- some of the hikes to the sights are more moderate hikes. We wore our hiking boots, but if you are sure-footed, you could get away with regular shoes or even water shoes, like these from Amazon. If you do bring water shoes, I would bring a pair of flip flops or other shoes to change into after you complete your trek.
- Cash- I would recommend taking some cash with you to pay for parking and entrance into some of the parks. Some spots did take card, but having some cash for those that do not is helpful.
Sights to See
When planning your stops, keep in mind that not everything is marked with a sign, but rarely did we have a difficult time finding a stop. There are mile markers and this guide will give the mile marker for each stop. If all else fails, follow the crowds. There are tons of other adventure-seekers on the road so you can typically tell there is a hot spot by how many cars are parked along the side of the road.
- Twin Falls- Mile Marker 2
- This was our first stop and came very quickly once starting the Road to Hana. There is a big sign with some parking along the right side of the road. It does not open until 8am. There is a gate operated by rangers and costs $10 dollars for parking. At the entrance there is a food truck selling snacks that opens a little later in the day. Twin Falls has two waterfalls. The first waterfall is a short fairly easy hike. Although you probably could swim in this watering hole, it was early morning when we got there and we were not quite ready for swimming yet. The second waterfall is a longer and more moderate hike. The trail is 1.8 miles out and back. You do have to cross a small stream and it was muddy in some areas. At the upper falls, you are able to hike back behind the falls under the overhang. The boys were apprehensive about swimming in the falls initially and just watched from the shore as I dove in. The water was refreshingly cool after the hike and I wish we could have spent more time at this stop.


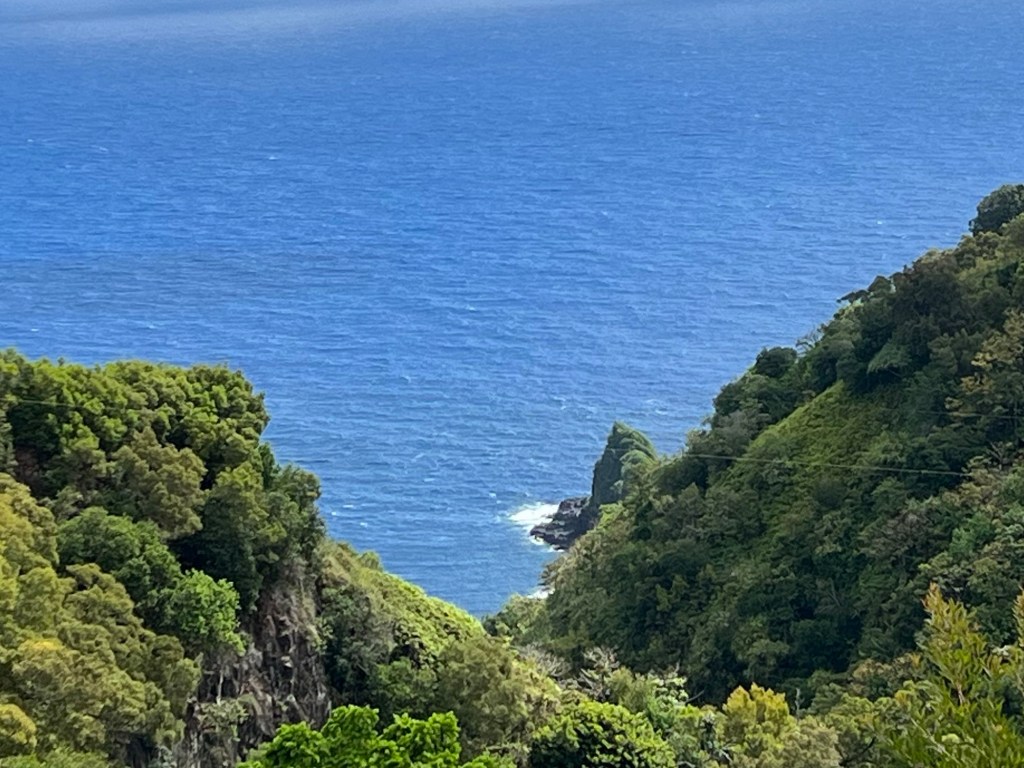
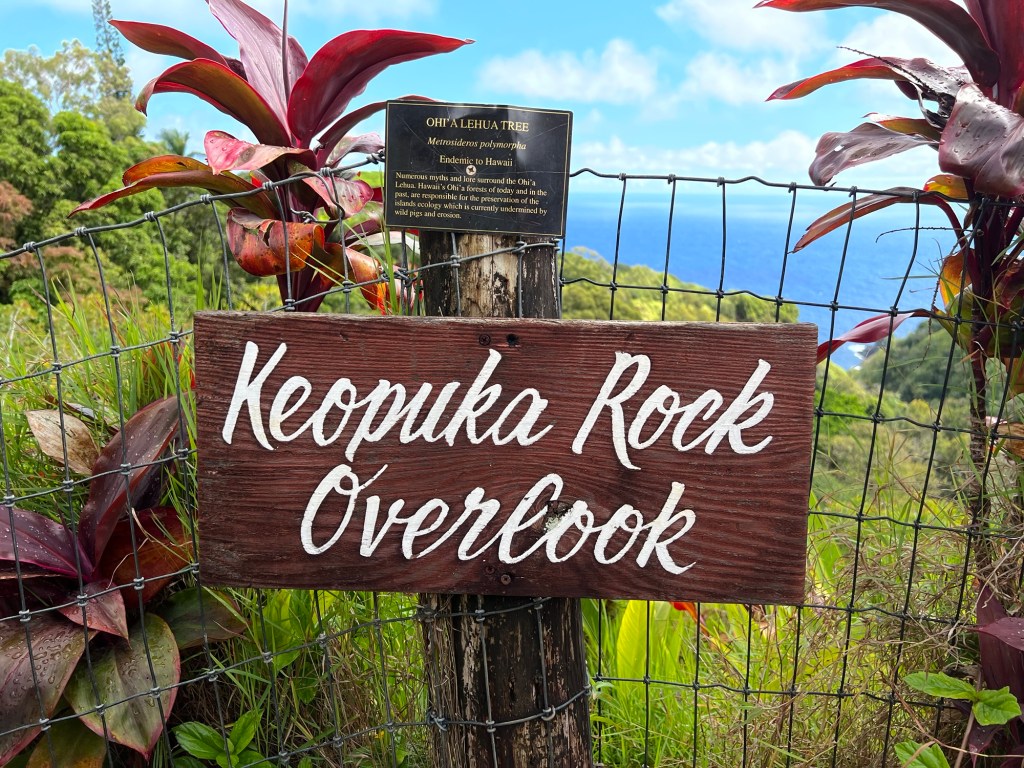
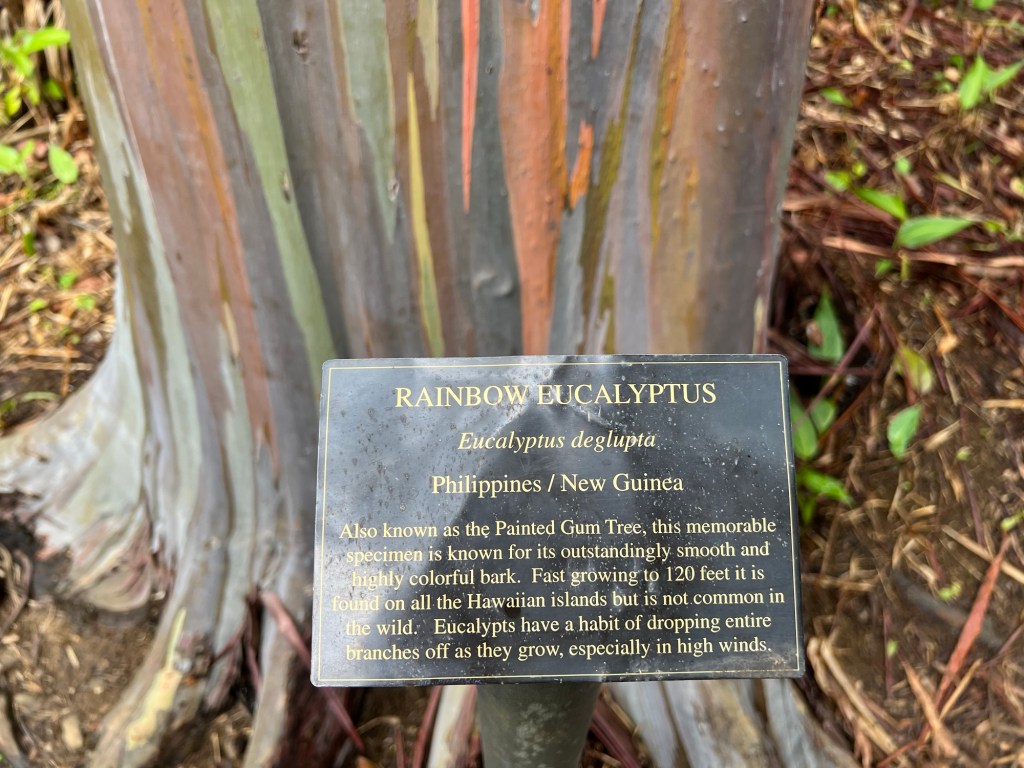
- Garden of Eden Arboretum- Mile Marker 10.5
- This park is known for the shots taken during the opening of Jurassic Park. It is an exquisite garden with lots of local flora to see. There is also a fantastic panoramic view overlooking the infamous rock island filmed for Jurassic Park. Although this is a lovely park and we did get some cool pictures here, we would probably forego this spot in the future. It costs $25 dollars to get in and it was not as exciting as we had hoped. Although there was a very entertaining peacock in the parking lot. The park is quite large and takes some time to get around. We did not explore the park in it’s entirety as it could definitely take a few hours to walk and drive through.

- Haipua’ena Falls- Mile Marker 11.5
- To access these falls, there is a small turn out and access to the trail on the far side of the bridge. There are two falls at this spot. The lower falls are smaller and similar to the lower falls of Twin Falls and are very easy to access. It is great for swimming and climbing along the rocks. However, the upper falls require a much more rigorous hike that is quite steep and muddy. We did not hike this trail, but have heard it can be slippery and not worth the risk.
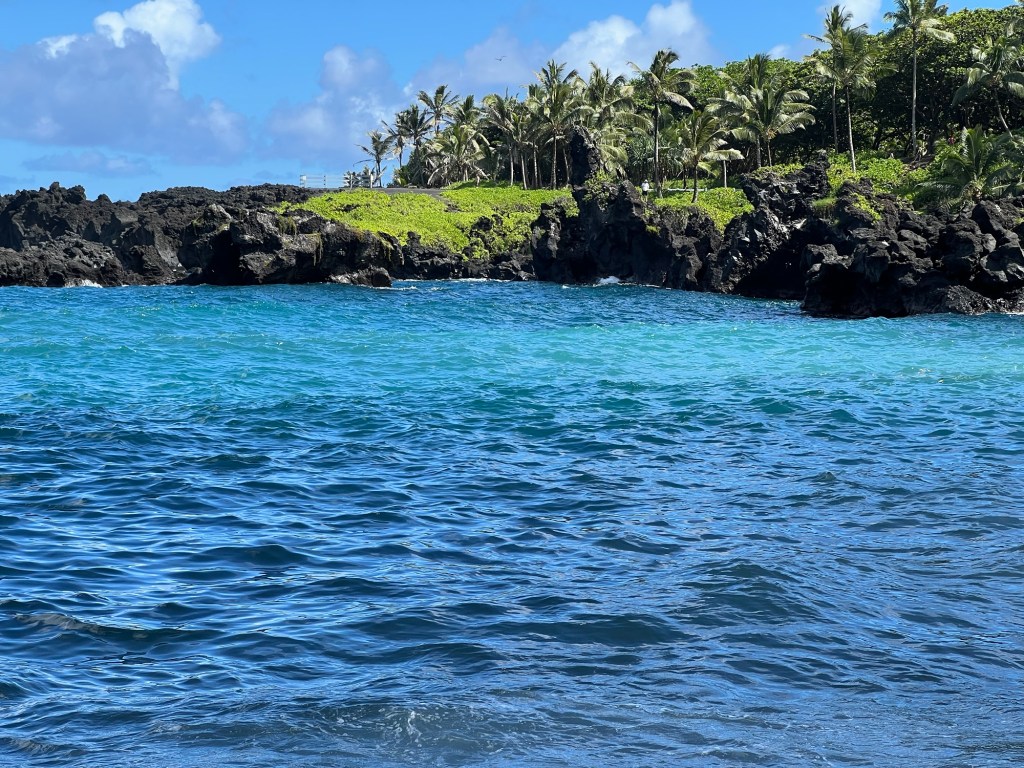
- Keanae Lookout- Mile Marker 17
- This is a nice stop to get an incredible view of the rugged coastline of black lava rock. This stop has access to bathrooms! Keep your eye out for a great banana bread snack shop right before hitting this mile marker.
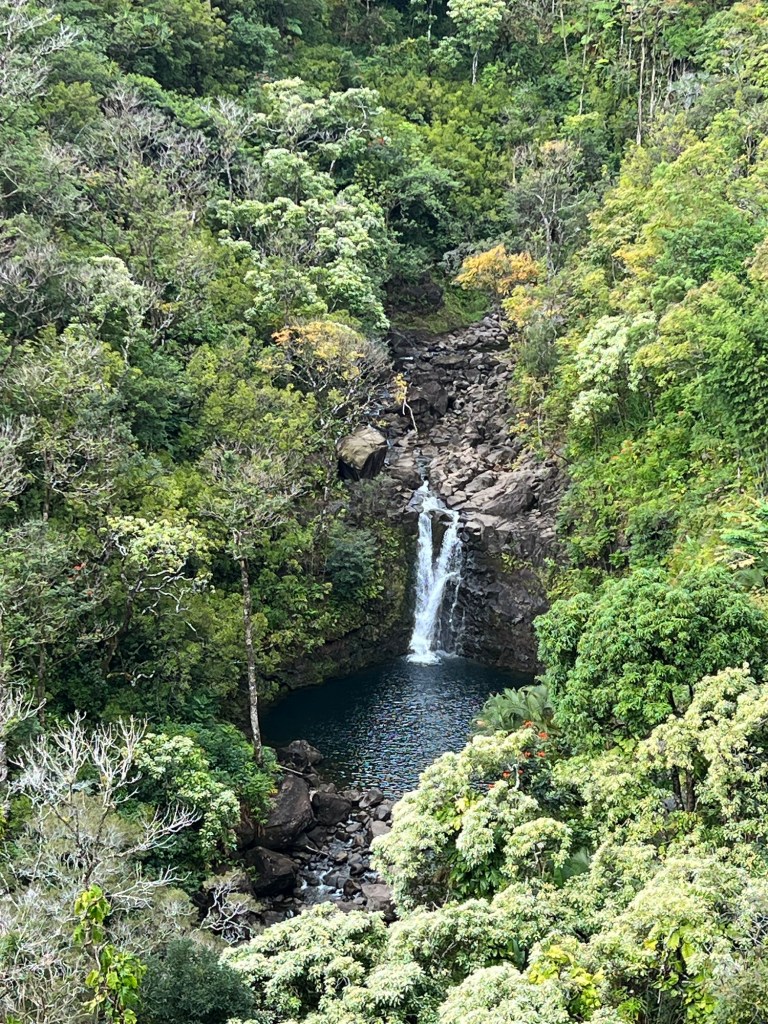
- Hanawi Falls- Mile Marker 24
- These falls can be seen from the road on the right hand side when crossing the bridge. We were able to steal a quick photo from the road. You can park and explore a bit if you want to spend more time at these falls but there were falls further along that we anticipated to be more adventurous for our crew.
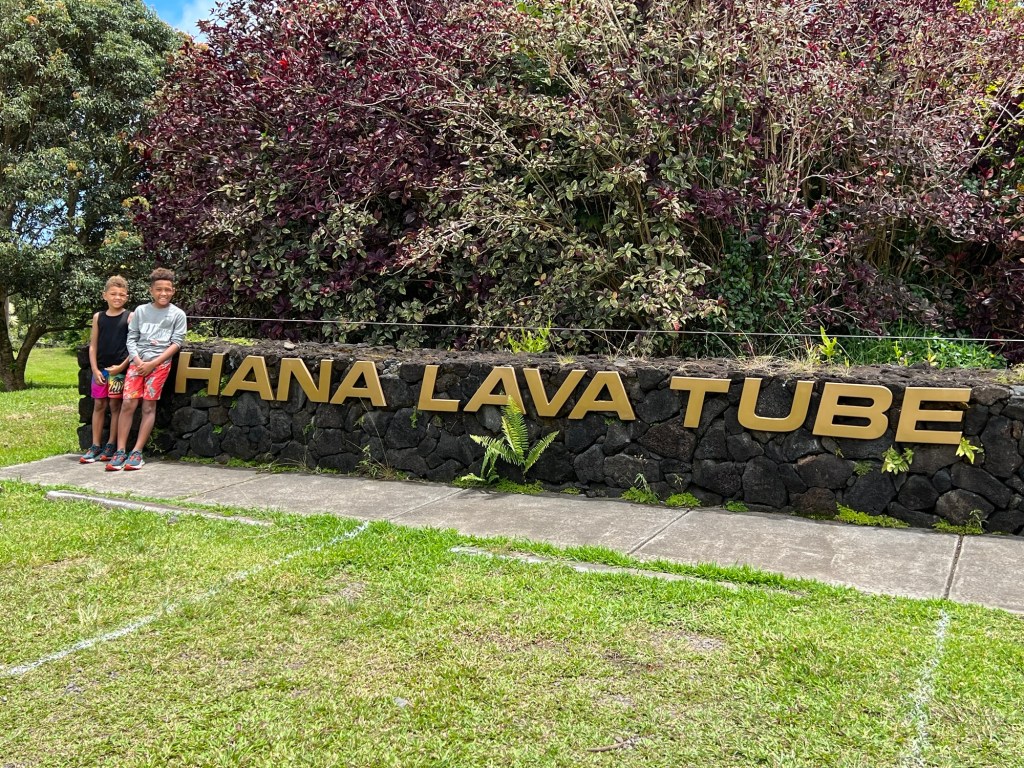
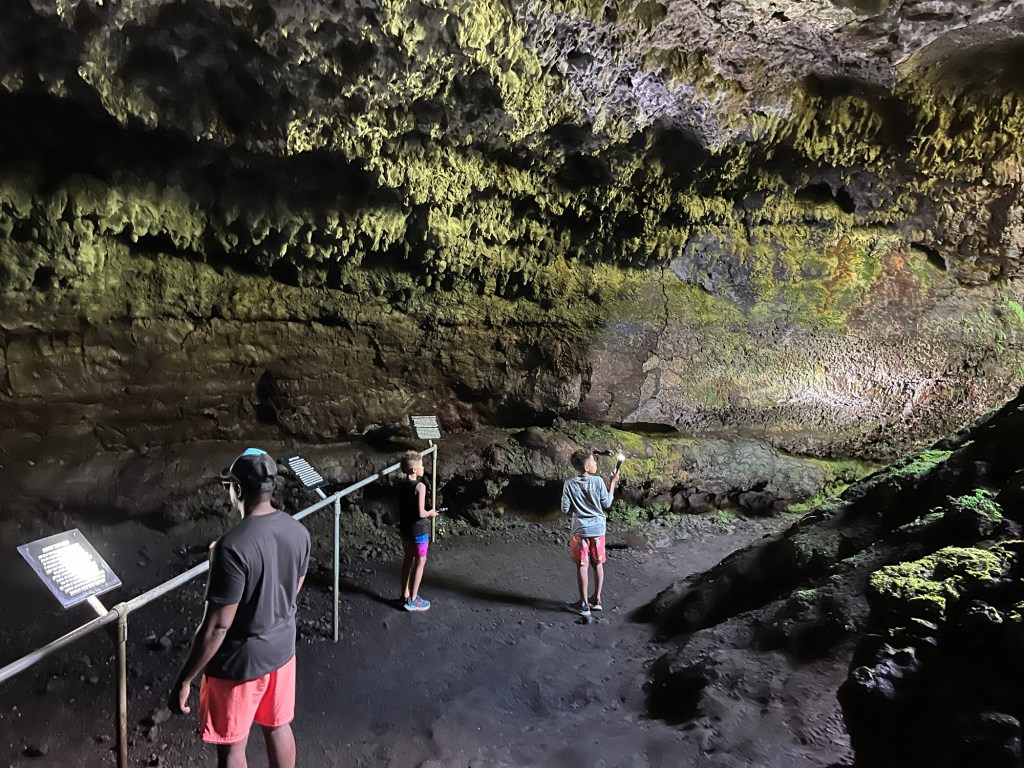
- Hana Lava Tubes- Mile Marker 31
- The Hana Lava Tubes are caves that were created by lava. These tubes are located to the left down a road that almost seems residential. There are small signs to direct you to where you need to go. Once you turn left on the road, you will come to a very small venue to access the tubes. It does cost approximately $15 per person, which includes a flashlight and self-guided tour. I was not super impressed by this stop and it seemed to be a little pricey for the amount of time it took for us to explore the tubes. However, my kids really did enjoy this stop and still talk about it today.
- Waianapanapa State Park- Mile Marker 32
- This park provides you access to the most popular black sand beach along the Road to Hana. It has picturesque views of a green luscious backdrop to a stunning black pebbled sand beach. It has lava tubes you can explore and enjoy watching the waves crash against the jagged black rock. Access to the state park only costs $10 per car; however, it does require a reservation and sells out daily. We made the unfortunate mistake of not making a reservation ahead of time and were turned away at the entrance on our first trip along the Road to Hana; however, when we visited Maui for the second time, we traveled this road once again specifically for this attraction. And boy, was it worth it! It was even more incredible than I had imagined and would highly recommend it, even if it is the only stop you make along your route.


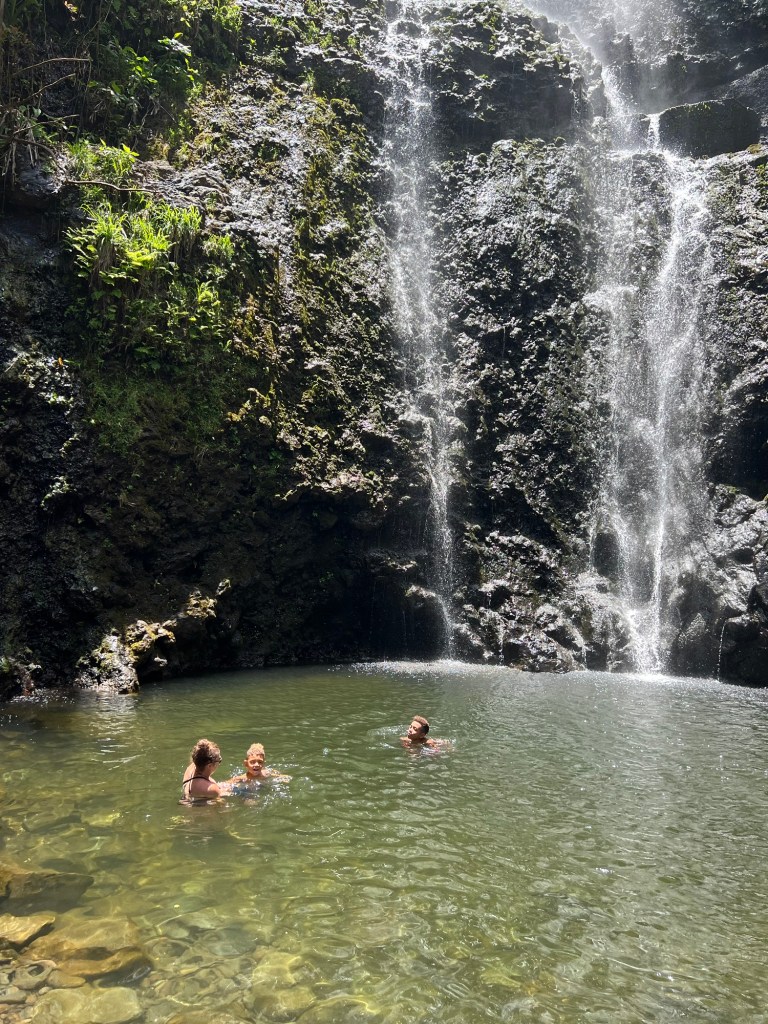
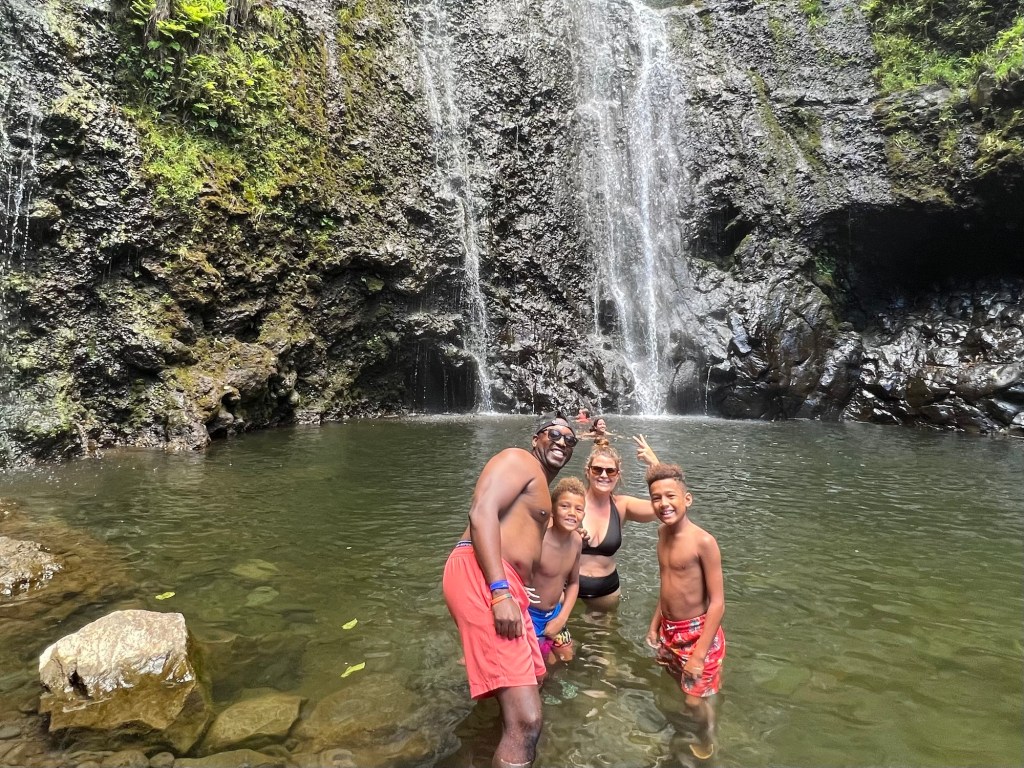
- Wailua Falls- Mile Marker 42
- This is easily accessible with only a .5 mile hike into the falls. There is some parking along the road. There are little markings for these falls and we only came upon them due to the crowd and other cars parked. You can see the falls from the road, but if you hike back in, you can climb down and swim in the pool below. There are rocks that some of the locals jump off of and maybe something we will try when the kids are older. This was one of our favorite falls to swim.

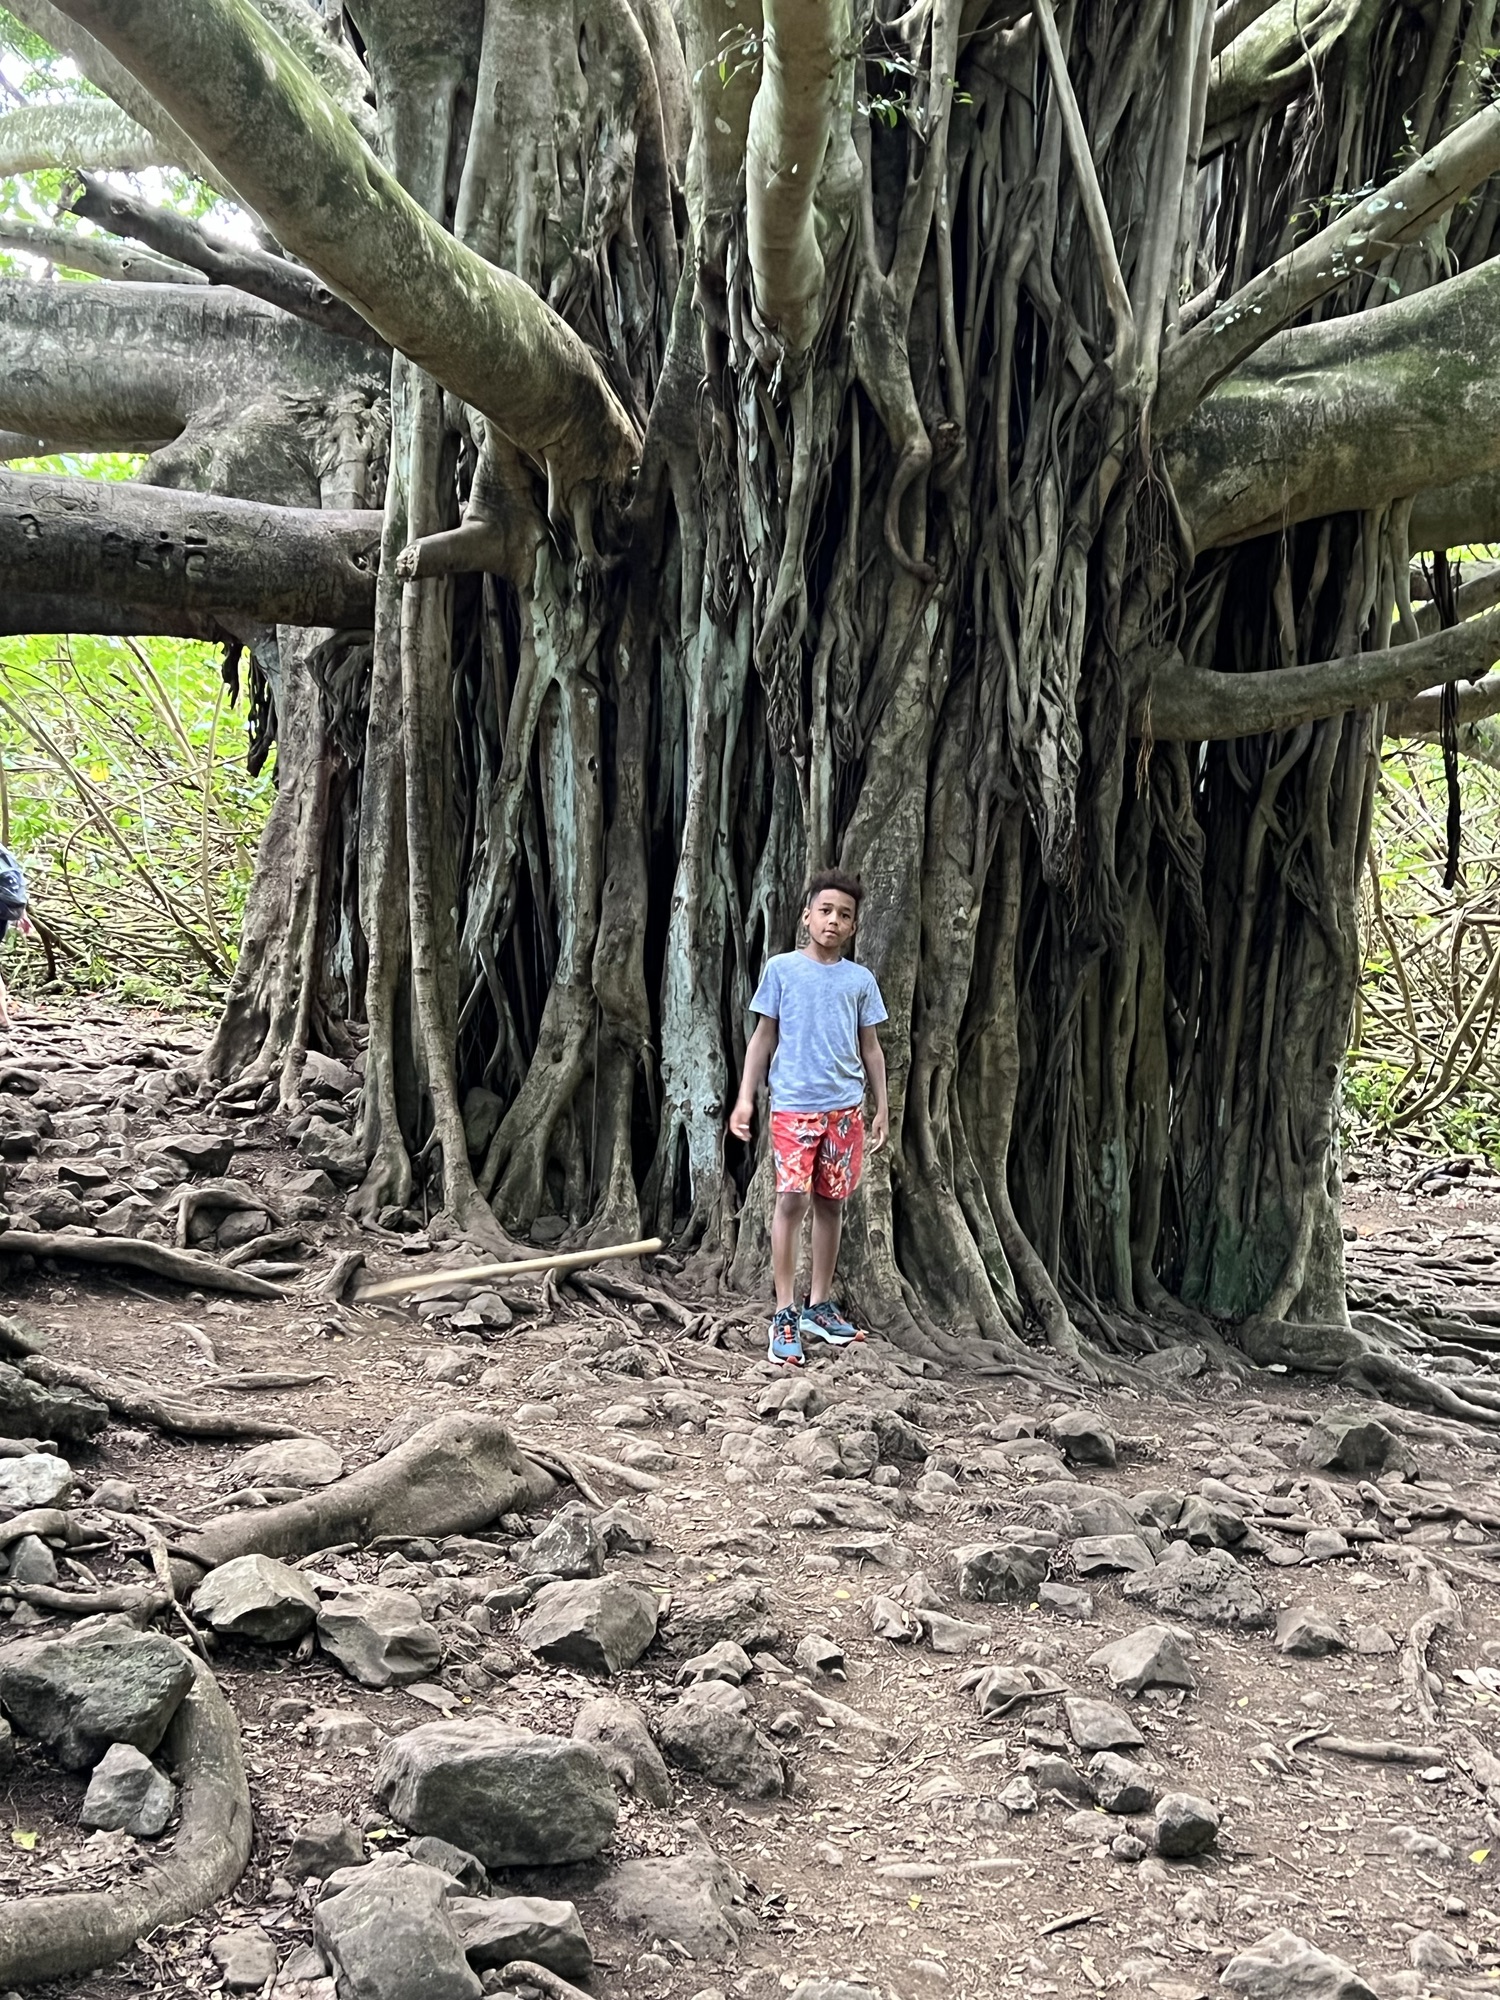
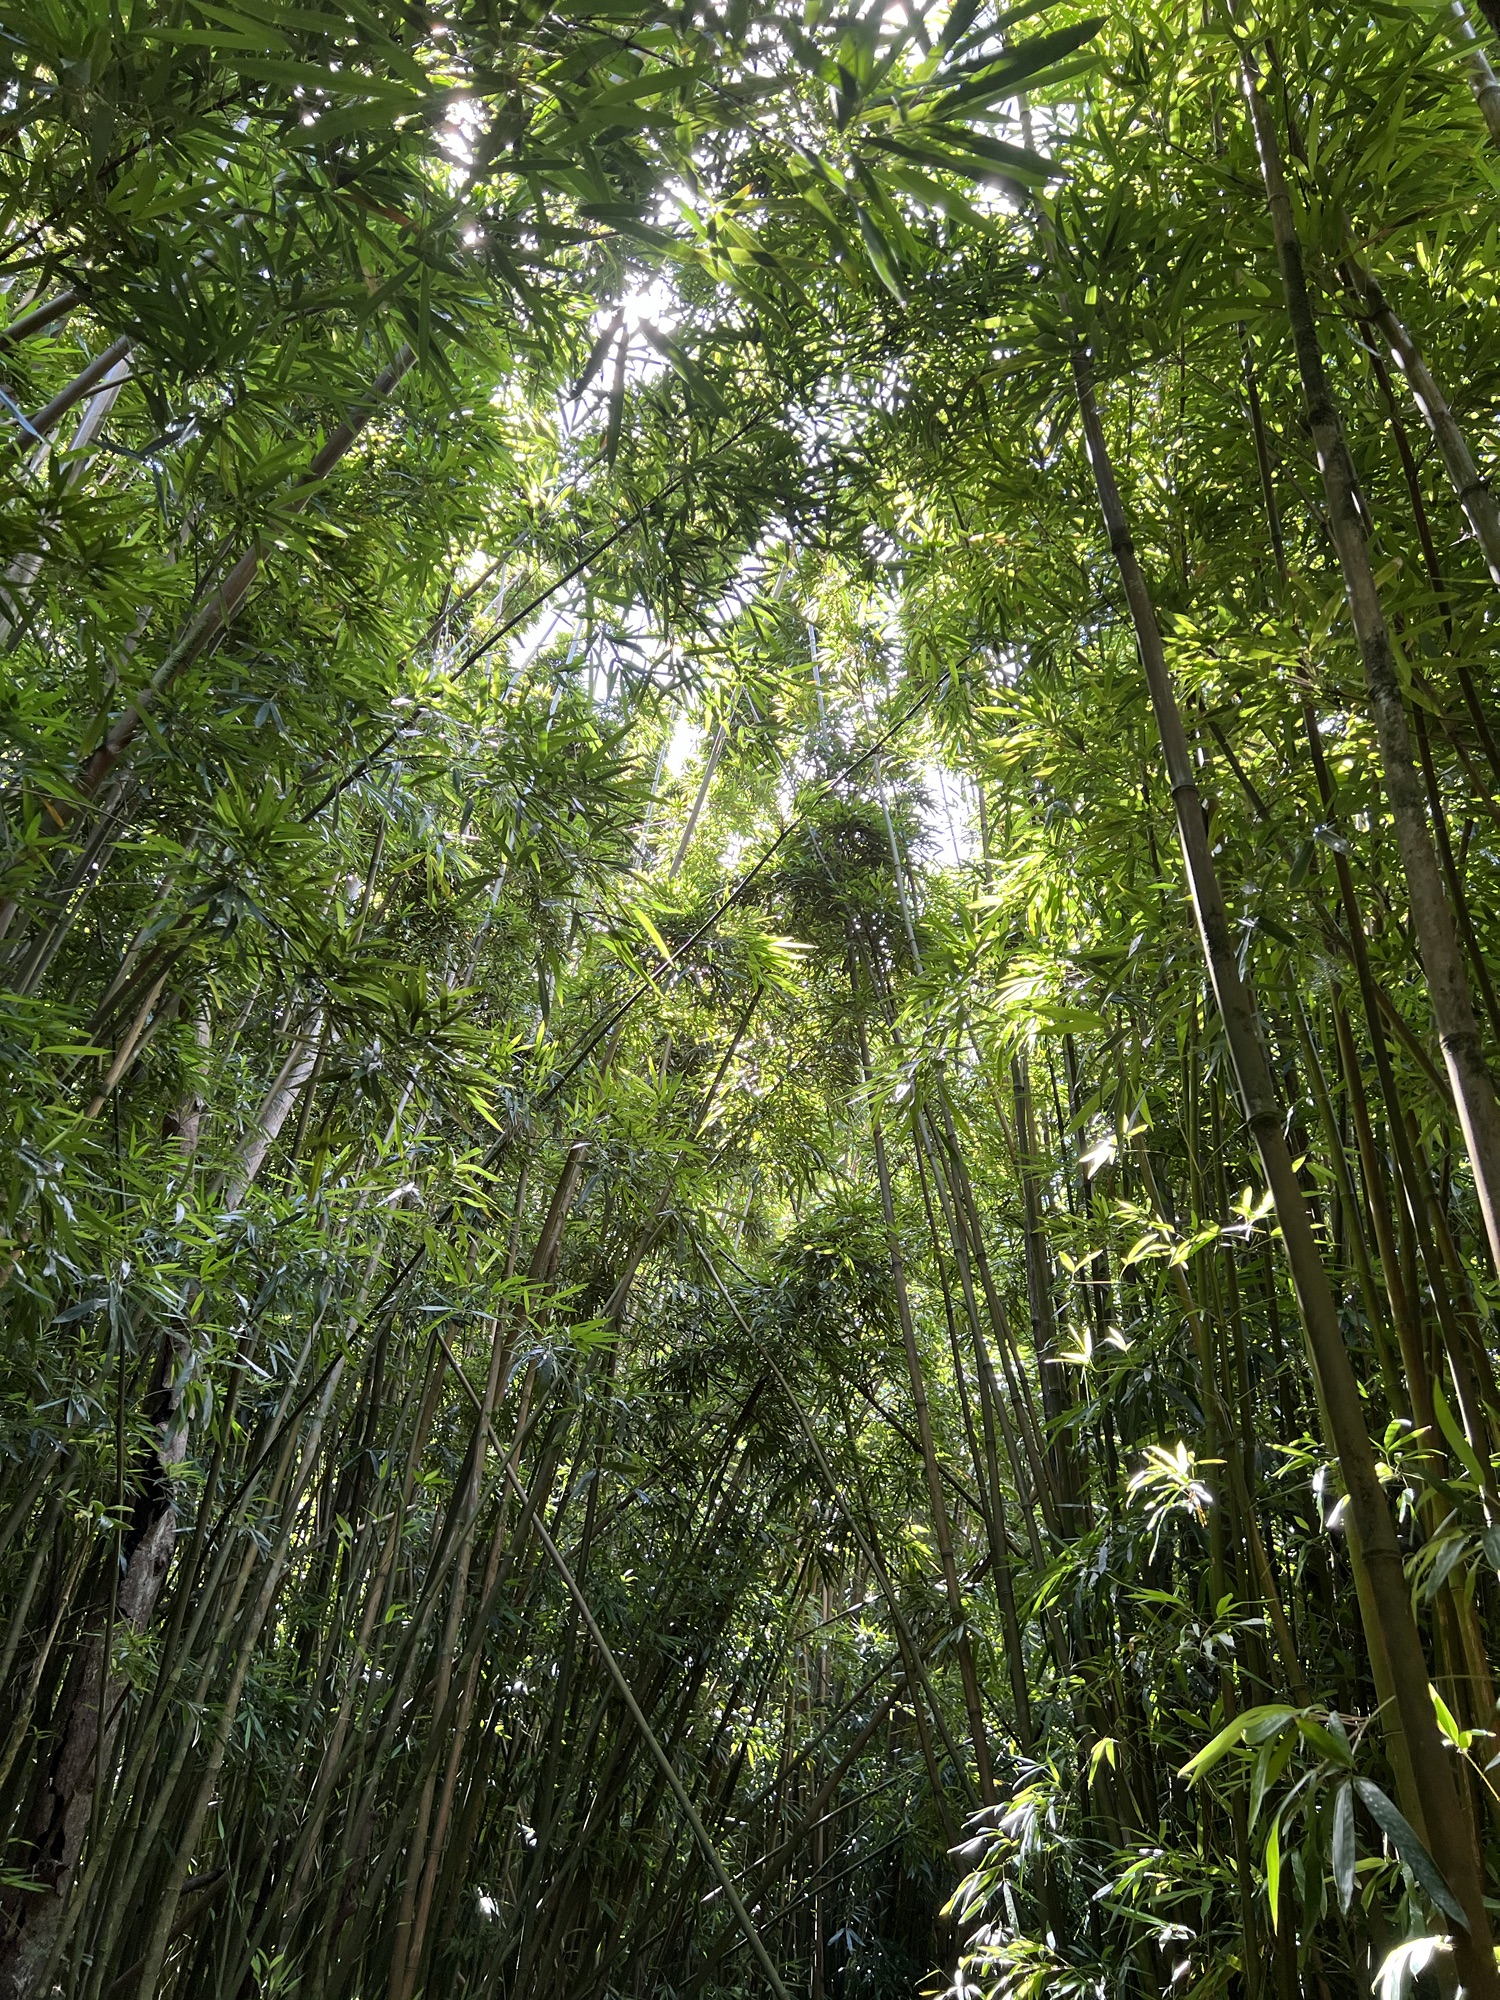
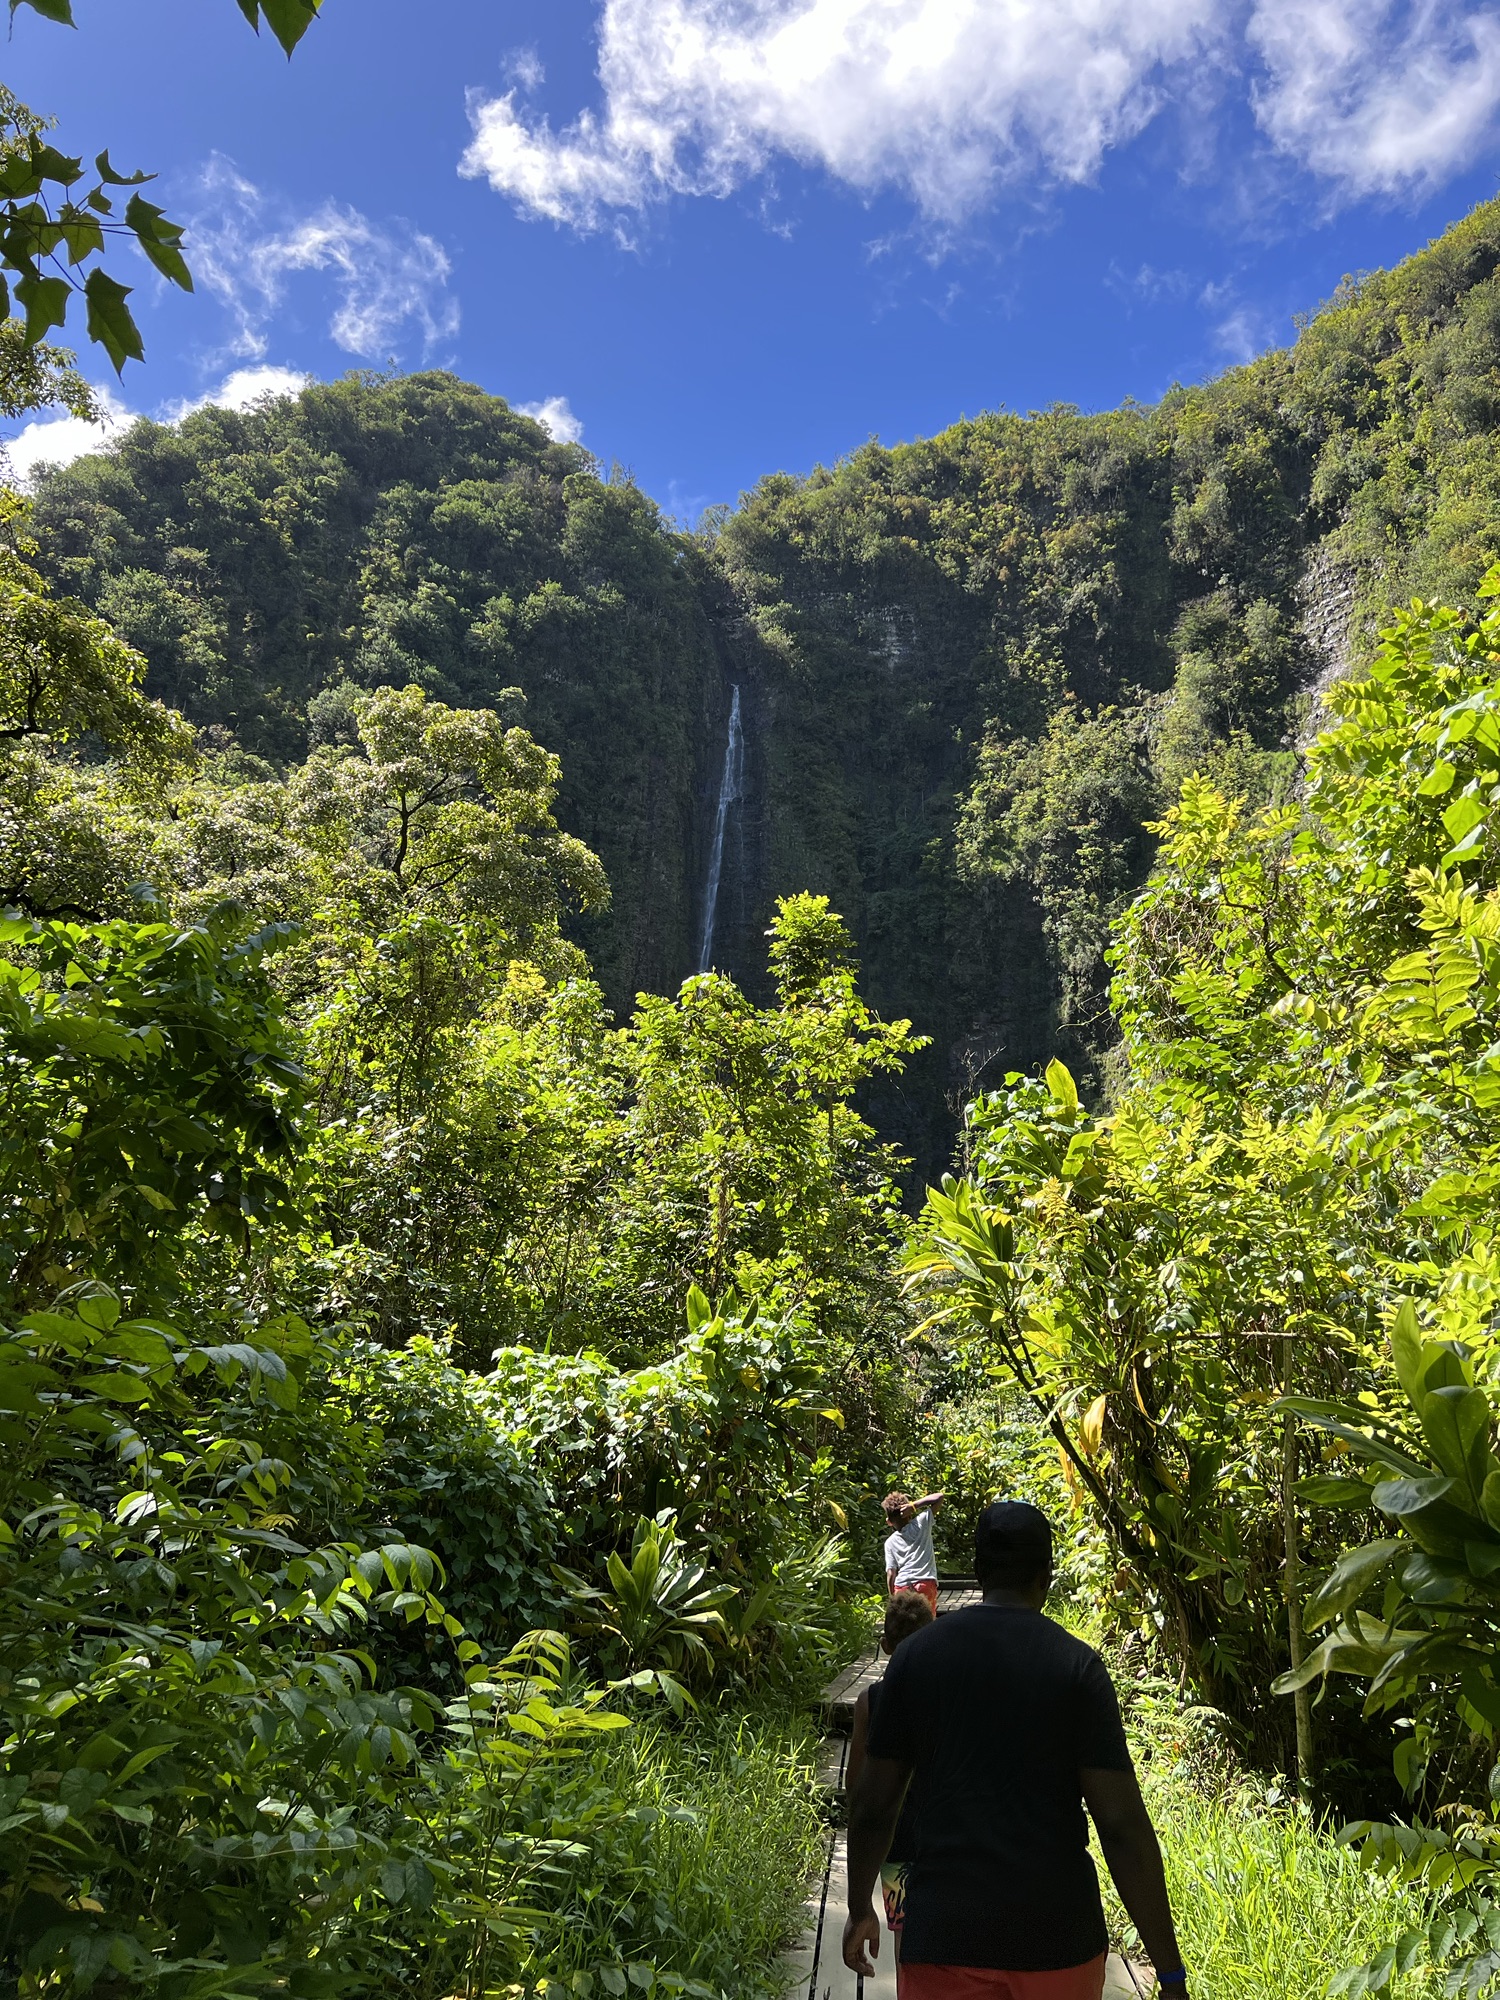
- Waimoku Falls and Pipiwai Trail- End of Road to Hana
- Waimoku Falls can be accessed via Pipiwai Trail. The Pipiwai Trail begins at the Kīpahulu Visitor Center and is a 3.4 mile out-and-back hike. The trail is well maintained and considered to be an easy to moderate hike with some incline. This hike will guide you through the infamous bamboo forest to the base of a banyan tree, and eventually ending at Waimoku Falls. These falls drops an extraordinary 400 feet into green lush forest. We got to the trail late afternoon and the sun was sweltering. After our already long exhilarating day, the kids were toast so we only hiked to the lookout point of the falls, which was a little over a mile. Definitely looking forward to making it to the bottom the next time we are in town!

There are a few stops past this that were highly recommended, including Seven Sacred Pools, but by this time it was hitting dinner time and we were out of snacks and low on water. This list, of course, is not an exhaustive list of all the stops along this magnificent route; however, these are the stops we made and it took us over 13 hours to complete. We planned most of our stops, but some just naturally came to be.
When planning your adventure on the Road to Hana, you need to consider how much time you have committed to this journey, keeping in mind you do have to make the drive back, which does take over an hour to do so. You also need to consider the capabilities of those in your party. While our kids were experienced hikers and quite the troopers, this was a long day for them and they really were running on fumes by the end. We definitely did not pack enough snacks or plan well for lunch. Definitely prioritize what you want to see and do and remember that you will not be able to make every stop or see everything on your list. If your goal is to swim in as many waterfalls as Hana has to offer, you may want to skip the Garden of Eden or some of the other lookout spots to have time for not only the hike to the waterfall but also for the time to enjoy the reason you are there in the first place. For me, I would definitely prioritize Waianapanapa State Park, making sure to reserve a spot, and Waimoku Falls, saving time and energy to hike to the bottom. I would also consider starting at the end of Road to Hana at Waimoku Falls and driving backwards. I think by beginning early morning at the end of the Road to Hana many of the hikes would be less busy, the morning temperatures would be ideal for the longer hike along Pipiwai Trail, and when you are at the end of your trip, you are already close to a more populated town with food options. Something I will definitely consider for next time!
The Road to Hana truly is one of my favorite experiences of all my travels. Although your adventure on the Road to Hana will most likely look very different than ours, it will be incredible all the same.
with love and dreams,
Jessica

Leave a comment